
Start with what the phrase really means
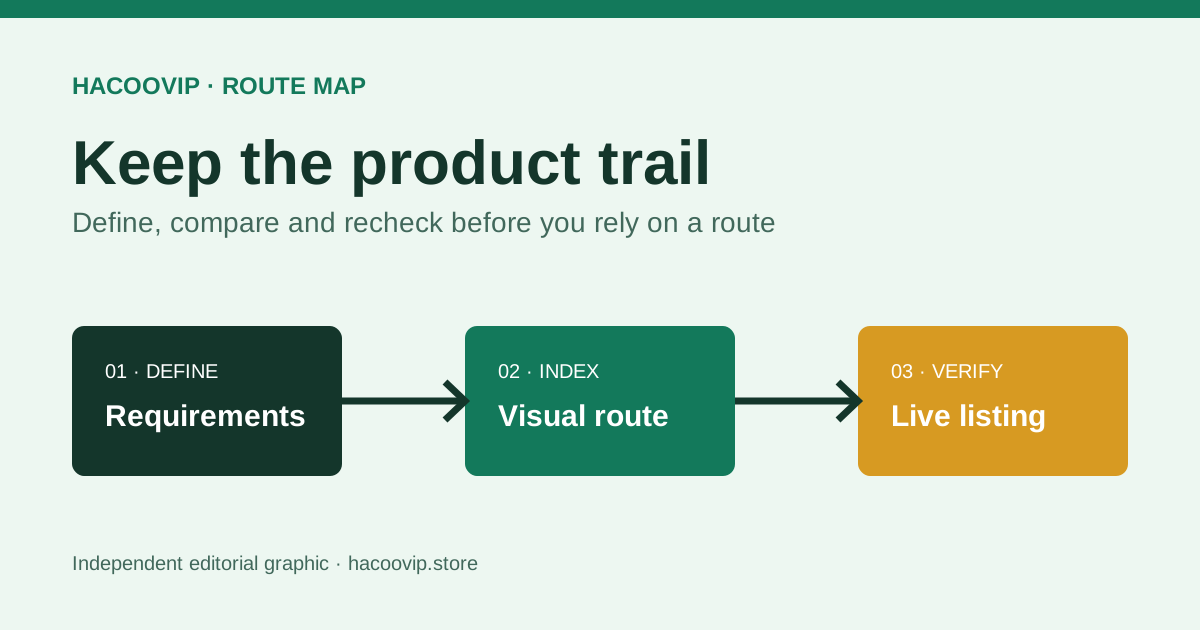
A Hacoo spreadsheet is best understood as a community-made discovery index. The name suggests rows and columns, but shoppers usually want something simpler: a reliable way to move from an idea to a relevant category, then to a current product page. A visual catalogue can perform that job better than a literal sheet on a phone because it preserves images, categories and readable product labels. The important part is not the file format. It is the route the index creates and whether every step still works when you use it.
That distinction matters because independent guides do not control the live listings they reference. A product can change price, lose a variant, become unavailable in a region or disappear entirely. Treat the spreadsheet as a map, not a shop. It should help you discover and compare, while the destination listing remains the current source for price, availability, shipping and purchase conditions. This mindset immediately reduces one of the most common mistakes: assuming an old card or screenshot is more accurate than the page that will actually process the order.
Define the product before you search
Good browsing begins with a short brief. Write down the product type, preferred colour, intended use, size range and a maximum item budget. If you are looking for shoes, add your foot length in centimetres and note whether you normally need a wider fit. For clothing, record measurements from a garment that already fits: chest width, body length, shoulder width and sleeve length. This turns an open-ended search into a comparison task and makes promotional language less influential.
A defined brief also helps you recognise when a listing has drifted away from your original need. The lowest price can look attractive even when the material, cut or available size is wrong. Use the spreadsheet category as the first filter and your brief as the second. Save only products that satisfy the non-negotiable requirements. You can compare style and price after that. This order prevents you from building a shortlist full of attractive items that were never realistic candidates.
Use categories as routes, not decoration
Category pages should narrow the decision. Shoes, hoodies, T-shirts, jackets, pants, headwear, accessories and jerseys each require different checks, so combining everything into one long feed creates unnecessary work. Open the closest category and compare products that solve the same need. When a product could sit in more than one category, use the route that matches the feature you care about most—for example, place a technical overshirt with jackets if outer-layer construction matters more than shirt styling.
A useful category link should open a current collection on the same destination site used by the product cards. If it opens an unrelated platform, a generic home page or a different product type, the guide is breaking the trail. HacooVIP keeps category routes separate from editorial pages for this reason: editorial content explains how to decide, while category and product controls move you toward live inventory. The two functions support each other without pretending to be the same thing.
Match the image before reading the sales copy
Visual matching is the fastest integrity check in the workflow. Compare the lead image on the guide with the first image on the destination page. Look at the colour, silhouette, major panels, graphics, hardware and product type. A different crop is acceptable; a different product is not. If the destination has changed, discard your assumptions and evaluate the current page from the beginning. Do not use the old card title to explain away a mismatch.
Image matching does not prove quality or authenticity. It only confirms that the route still points toward the item you intended to inspect. That is valuable because a technically working link can still be a poor link. It may return a normal page while showing a different product. Reliable spreadsheet maintenance therefore requires both status checking and visual checking. HacooVIP uses the same lead images as the current destination cards, but you should still repeat the comparison because third-party listings can be edited after publication.
Read the live listing in a fixed order
Reviewing every listing in the same order makes omissions easier to notice. Start with the selected variant and available stock. Move to the current item price, size or measurement information, material description and included components. Then inspect the full image set and available buyer feedback. Finish with delivery eligibility, estimated timing, return information and the final checkout amount. This sequence moves from product identity to fit, evidence and transaction conditions.
Avoid collecting isolated facts from different moments. A saved price from last week, a current size chart and an old review may describe different versions of the offer. The live page is a snapshot, and your decision should use information visible in the same session whenever possible. If a crucial detail is missing, treat it as unknown rather than filling the gap with a familiar assumption. A careful ‘unknown’ is more useful than a confident guess, especially for sizing and regional delivery.
Convert guide prices carefully
Independent catalogues often show a familiar currency to make comparison easier. That number should be labelled as a guide value because exchange rates move and the destination page may calculate currency differently. Use approximate USD prices to compare relative cost within the spreadsheet, not to predict the exact amount charged. Before payment, check the product price, selected variant, currency conversion, shipping, tax and any discount on the live checkout screen.
The same rule applies to promotional codes and new-user offers. A headline percentage does not describe eligibility, expiry, excluded products or maximum discount. Only the live terms can answer those questions. Build your purchase decision around the normal total you are willing to pay. Treat a valid promotion as a benefit, not as the condition that makes an unsuitable product affordable. This keeps the item decision separate from temporary marketing pressure.
Use measurements instead of familiar size labels
Letter sizes are not measurements. A medium in one listing can be close to a small or large elsewhere, and footwear labels can hide differences in internal length and width. Compare the listing’s centimetre measurements with an item you own. For a top, lay the reference garment flat and measure chest width, shoulder width, length and sleeve. For shoes, measure the foot and compare with the specific chart, allowing for the type of sock and fit you prefer.
When only a general size label is available, the uncertainty is higher. Reviews can provide context, but another buyer’s height and weight do not fully describe body shape or preferred fit. Look for repeated comments rather than one confident statement. If measurement information conflicts across images and text, pause. Choosing the larger of two uncertain labels is not a universal solution; it can fix length while creating excessive width. Accurate dimensions are the better basis.
Build a small shortlist and compare like for like
A shortlist of three to five products is usually enough. Place candidates side by side and compare the same fields: destination image match, current price, available size, measurement detail, material evidence, buyer photos, delivery eligibility and return conditions. Add a note for every unknown. This simple structure prevents one listing’s strong photography from hiding missing information and makes it obvious when a slightly more expensive option provides much better evidence.
Remove candidates aggressively. A product that lacks your required size or shows inconsistent images should not stay on the list just because you like the design. Likewise, avoid treating view counts or popularity labels as quality proof. They can indicate attention, but not whether the item fits your needs. The goal is not to find the universally best product. It is to identify the listing with the best combination of fit, evidence and acceptable total cost for your specific brief.
Recheck the entire trail before checkout
Open the product from the spreadsheet again immediately before buying. Confirm that the destination, lead image, chosen variant and current product details still agree. Review the basket after adding the item; the basket selection can differ from the variant you were viewing if a page resets or a previous choice remains active. Then inspect the checkout address, shipping amount, timing, tax and payment total without rushing through the final screen.
Save the order confirmation and any information needed to recognise the selected item. Do not rely on the spreadsheet to manage an order after purchase; support, tracking, cancellations and returns belong to the platform shown in the transaction. This boundary is important. An independent guide can improve discovery and preparation, but it cannot see your account, confirm warehouse activity or change an order. Use the official support route connected to the purchase.
The habit that makes any spreadsheet more useful
The strongest habit is simple: separate discovery from verification. Let the spreadsheet help you find possibilities quickly, then slow down on the live listing. Verify the product identity, evidence, measurements and total in a repeatable order. A guide that encourages this transition is more useful than one that promises thousands of ‘verified’ products without explaining what was checked, when it was checked or what can still change.
HacooVIP is designed around that boundary. Product cards and category links create a direct trail, while guides explain the decisions the trail cannot make for you. The catalogue is intentionally transparent about approximate prices and third-party change. Use it as a starting point, keep your shortlist small and reopen every live page before committing. That approach is less exciting than blind scrolling, but it is faster, clearer and far more resistant to stale information.